How to Create a Baby Saja Costume: A Step-by-Step Guide
There’s something magical about dressing your little one in a character costume, especially when it’s one that holds cultural significance or personal meaning to your family. A baby Saja costume—inspired by the graceful, mystical character—is a delightful choice that combines elegance with playfulness. Whether you’re preparing for Halloween, a themed party, or a special family celebration, this guide will walk you through creating an authentic yet comfortable costume that keeps your baby happy and adorable.
The beauty of crafting a homemade costume lies not just in the final product, but in the creative process itself. You’ll discover that you don’t need to be a master seamstress or spend a fortune to create something truly special. With some basic materials, a bit of patience, and the right approach, you can fashion a Saja costume that looks professionally made while remaining practical for your baby to wear.
Let’s dive into the essentials of bringing this enchanting character to life for your little one.
Understanding the Saja Character
Before you start cutting fabric and hunting for supplies, it’s worth taking a moment to understand who Saja is and what makes this character visually distinctive. Saja is often portrayed as an ethereal, mystical figure with flowing garments and an air of grace. The character embodies elegance and otherworldliness, which translates beautifully into costume design.
The key visual elements typically include flowing robes or dresses, layered fabrics that move gracefully, and often some form of headpiece or crown. Understanding these core characteristics will help you make design choices that stay true to the character while adapting them for your baby’s needs and comfort level. Remember, babies won’t be walking around for hours like older trick-or-treaters, so you have some flexibility in creating something that prioritizes their comfort while maintaining that magical aesthetic.
When researching the character, look at various interpretations you find online or in media. This will give you a clearer picture of what elements are most important to capture and which details you might want to personalize for your baby’s costume.
Gathering Your Materials
Success starts with preparation. Before you begin construction, gather all your materials in one place. This prevents mid-project frustration and ensures you have everything you need to complete the costume smoothly.
Fabric Selections:
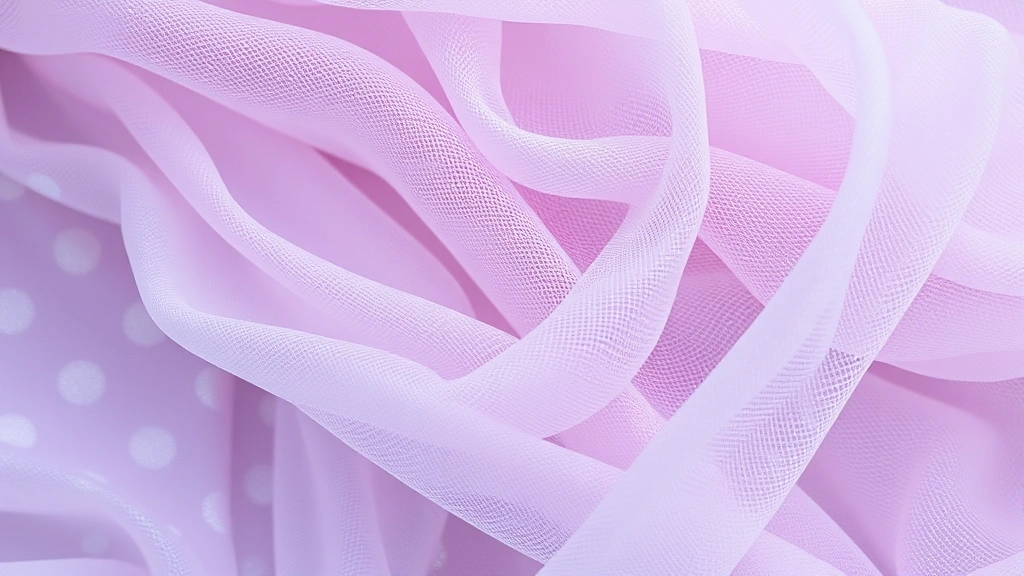
- Lightweight flowing fabric (tulle, chiffon, or organza) for the main dress—aim for 2-3 yards depending on your baby’s size
- A base fabric like cotton or cotton-blend for comfort against baby’s skin
- Elastic or soft ribbons for secure fastening without restricting movement
- Optional: metallic or iridescent fabrics for added shimmer and visual interest
When selecting fabrics, prioritize softness and breathability. Your baby’s skin is delicate, and they’ll be wearing this directly against their body. Visit a fabric store and feel different materials—your hands will tell you what works best. Many stores have remnant sections where you can find quality fabrics at reduced prices.
Notions and Hardware:
- Thread in matching colors
- Velcro strips (soft and gentle on skin) or small snaps for closures
- Needle or access to a sewing machine
- Scissors for cutting fabric
- Measuring tape
- Pins for holding fabric pieces together
Embellishment Supplies:
- Non-toxic fabric paint or markers for details
- Safe, baby-friendly embellishments (avoid small buttons or anything that could pose a choking hazard)
- Ribbon for trim and accents
- Optional: LED fairy lights (battery-operated and covered for safety) for that magical glow
Creating the Base Costume
The foundation of your Saja costume is a comfortable, well-fitting base garment. Think of this as creating a modified dress or tunic that your baby can move and play in without restriction.
Step 1: Take Accurate Measurements
Measure your baby from shoulder to knee (for a dress) or from shoulder to mid-thigh (for a shorter tunic). Also measure across the chest and around the waist. Write these down—you’ll reference them throughout the building process. Remember that babies grow quickly, so consider making the costume slightly oversized to account for growth and ensure it fits comfortably with a diaper underneath.
Step 2: Choose Your Base Garment Approach
You have two main options: modify an existing baby girl clothes item or create something from scratch. Using an existing dress as your base is often the easiest route. Find a soft, comfortable dress in a neutral color that fits your baby well, then you’ll build the Saja elements on top of it. Alternatively, if you’re comfortable sewing, you can construct a simple A-line dress using basic sewing patterns available at craft stores.
Step 3: Layer Your Fabrics
The magic of the Saja look comes from layering. Start with your comfortable base layer (the actual dress your baby will wear), then add layers of flowing fabric on top. Cut tulle or chiffon into panels that drape from the shoulders or waist. These layers don’t need to be sewn with precision—loose, flowing stitching that allows the fabric to move freely is actually ideal.
Create 2-3 layers of varying lengths. The longest layer might reach the floor when your baby stands, while shorter layers peek through, creating visual depth and that ethereal quality Saja is known for. Use soft elastic or gentle stitching to attach these layers securely so they won’t slip during wear.
Step 4: Add Structural Elements
If you want the costume to hold its shape, consider adding a lightweight structure using tulle underskirts or a simple hoop underneath. However, prioritize comfort—your baby shouldn’t feel restricted. The costume should move with them naturally.
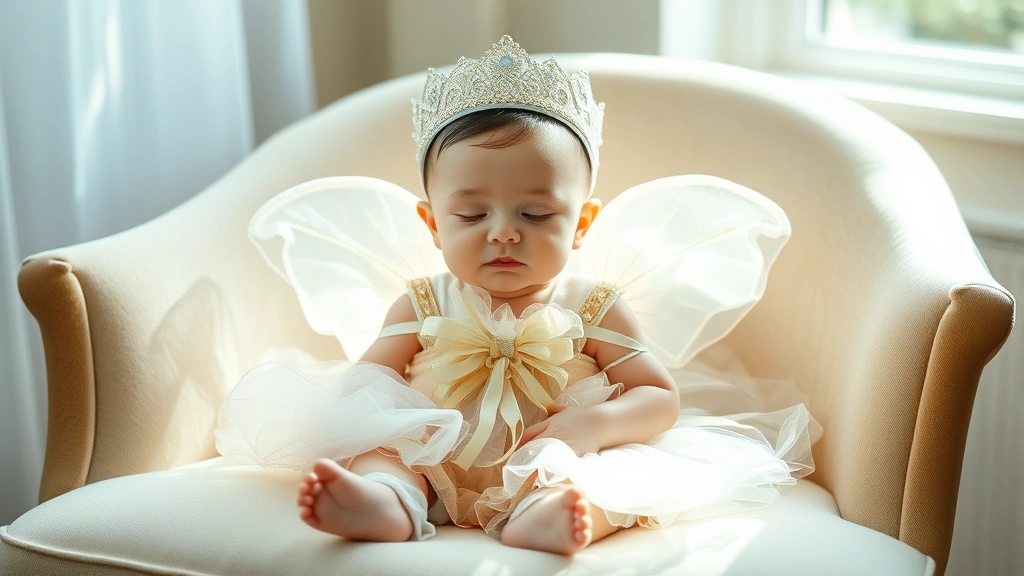
Adding Accessories and Details
Accessories transform a basic costume into something truly magical. This is where you get to inject personality and capture the essence of the Saja character.
Headpiece Options:
A crown or headpiece is often central to the Saja look. For a baby, safety is paramount. Consider these options:
- A soft fabric crown (no hard materials that could hurt if your baby falls)
- A delicate headband with attached embellishments
- A simple tiara made from bendable wire wrapped in ribbon
- A decorative headwrap in coordinating fabric
Whatever you choose, ensure it’s secured gently and won’t impede your baby’s vision or movement. Test it thoroughly before the event—your baby shouldn’t be able to pull it off easily, but you should be able to remove it in seconds if needed.
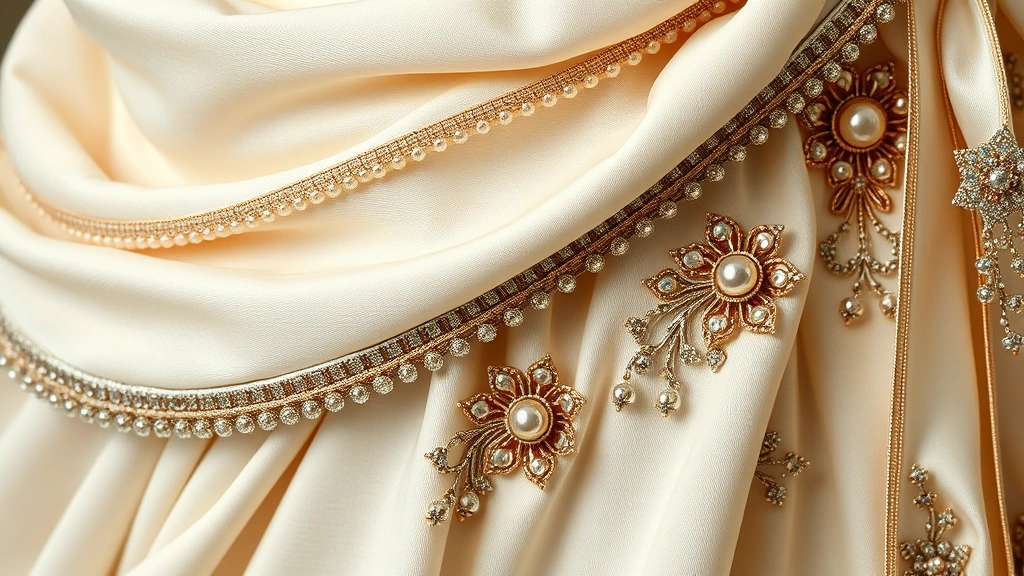
Embellishments and Details:
This is where you can really customize the costume. Add details that make it uniquely yours:
- Beading: Use soft, sewn-on beads or fabric paint to create beaded patterns on the dress
- Trim: Add ribbon trim along hems and necklines for definition
- Shimmer: Incorporate metallic fabrics or use fabric paint with a shimmer finish
- Embroidery: Simple embroidered patterns add elegance without weight
- Appliqués: Fabric shapes sewn or glued onto the dress add visual interest
Remember that less is often more with baby costumes. You want your little one to look enchanting, not uncomfortable or overheated from excessive embellishment.
Footwear:
Soft, comfortable baby shoes or booties complete the look. Choose something in a complementary color—neutral tones, metallics, or colors that match your costume’s palette work well. Ensure shoes are secure so your baby won’t lose them if they’re crawling or taking early steps.
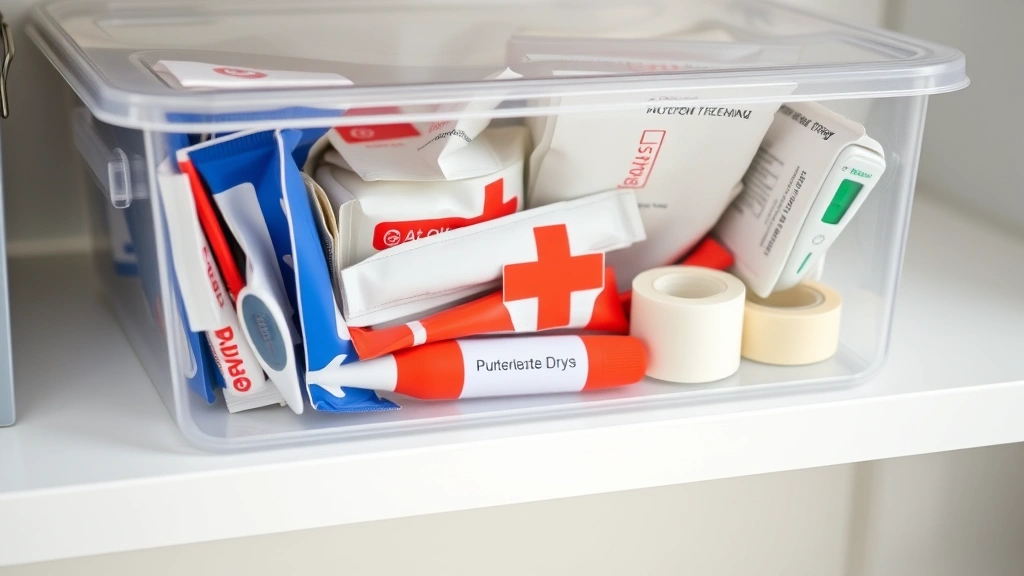
Ensuring Safety and Comfort
Creating a beautiful costume means nothing if your baby is uncomfortable or unsafe. This section is crucial, so please read through it carefully.
Fabric Safety:
All fabrics should be pre-washed before construction. This prevents dyes from bleeding and shrinking later. Use gentle, baby-safe detergent. Ensure all materials are non-toxic and free from harmful chemicals. When in doubt, check product labels or contact manufacturers.
Choking Hazard Prevention:
Babies explore the world by putting things in their mouths. Avoid:
- Small buttons or beads that could detach
- Long ribbons or strings that could wrap around necks
- Loose embellishments of any kind
- Small decorative items
Securely sew everything onto the costume. Test each element by tugging it firmly—if it comes off easily, it’s not secure enough. When in doubt, remove it. Your baby’s safety trumps costume perfection every time.
Temperature Regulation:
Consider the season and venue. If wearing the costume indoors in a warm environment, choose breathable fabrics and avoid heavy layers. If outdoors in cooler weather, ensure your baby can wear warm clothing underneath. Never let your baby overheat in a costume.
Movement and Mobility:
The costume shouldn’t restrict your baby’s movement. They should be able to crawl, reach, and move their arms and legs freely. Elastic waistbands are better than tight-fitting garments. Avoid anything around the neck that could restrict breathing.
Diaper Accommodation:
Make sure the costume fits comfortably over a diaper. You’ll need quick, easy access for diaper changes, so consider designs with closures that allow easy access rather than full pullover styles. Velcro or snap closures work beautifully for this purpose.
Styling Tips for the Perfect Look
Now that you’ve constructed your costume, let’s talk about styling and photography tips to capture your baby looking absolutely magical.
Hair and Makeup:
Keep hair styling simple and comfortable. Soft braids or loose waves work beautifully. Avoid tight styles that could cause discomfort. For makeup, use only baby-safe, hypoallergenic products if you use any at all. A light shimmer on the cheeks or a gentle touch of face paint can enhance the look without being heavy or irritating.
Photography Angles:
Photograph your baby from multiple angles to capture the costume’s details. Close-ups of the headpiece, the layered fabrics, and the embellishments showcase your handiwork. Full-body shots show how everything comes together. Capture candid moments of your baby playing—these often make the best photos.
Lighting Considerations:
Natural lighting is your friend. Photograph outdoors during golden hour (early morning or late afternoon) for flattering, soft light that makes fabrics look especially beautiful. If photographing indoors, position your baby near a window for natural light.
Coordinating with Family:
Consider whether family members will also dress up or coordinate colors. If you’re giving baby boy gifts to others or baby girl gifts in costume form, coordinating with siblings or parents can create beautiful family photos. Alternatively, keeping the costume as your baby’s unique moment works beautifully too.
Costume Care After Wear:
Once the event is over, gently hand wash the costume in cool water with baby-safe detergent. Air dry completely before storing. If you’ve used any embellishments like face paint, remove these immediately with a gentle cleanser. Store the costume in a breathable garment bag to preserve it for future siblings or events.
Many families find that baby shower gift ideas now include handmade costume pieces, so consider keeping your creation for future gifting or as a keepsake.
Frequently Asked Questions
How long should it take to make a baby Saja costume?
If you’re modifying an existing dress and keeping things simple, you can complete the costume in 2-3 hours. If you’re sewing from scratch with intricate details, plan for 4-6 hours spread across a few days. The key is not rushing—take breaks to ensure quality work.
What if I’m not a skilled sewer?
You don’t need advanced sewing skills for this project. Layering pre-made dresses, using fabric glue for embellishments, and employing hand-stitching can achieve beautiful results. Many craft stores offer beginner sewing classes if you want to build confidence before starting.
Can I make this costume for a baby boy?
Absolutely. The character works beautifully across gender presentations. For baby boy clothes styled as Saja, consider a tunic-style top with flowing layers paired with comfortable pants. The same styling principles apply—flowing fabrics, elegant accessories, and comfortable construction.
How much will this costume cost?
Budget $25-60 depending on fabric choices and embellishments. Shopping sales, using remnants, and repurposing existing clothes can reduce costs further. This is often significantly less expensive than purchasing pre-made costumes.
What if my baby refuses to wear the costume?
Some babies resist costume wear, and that’s completely normal. Let them get used to it gradually. Have them wear it for short periods during the day leading up to the event. Ensure it’s comfortable and not irritating. If they truly hate it, don’t force them—their comfort matters more than the costume.
Can I reuse this costume for younger siblings?
Yes, and this is one of the beautiful benefits of handmade costumes. With careful storage and gentle handling, you can pass it to younger siblings or cousins. You might need to adjust sizing slightly or refresh embellishments, but the base costume can have a long life.
Are there any age considerations for wearing this costume?
This costume works for babies from about 6 months (when they can sit up) through toddler ages. Adjust sizing and complexity based on your child’s age and mobility level. For very young babies, keep it simpler and ensure all elements are extremely secure.
What external resources can help me learn more?
For sewing guidance, check out The Craft and Folk Art Museum for inspiration. The American Academy of Pediatrics offers safety guidelines for children’s costumes. Parents Magazine frequently features costume-making tutorials and inspiration. For character-specific styling, fan communities and cosplay resources often have detailed guides and photo references.