How to Knit a Baby Bonnet: Step-by-Step Guide
There’s something undeniably magical about handmade baby items. They carry warmth beyond their fabric—a tangible expression of love that no store-bought piece can quite replicate. A knitted baby bonnet sits at the intersection of practicality and sentimentality, offering both sun protection and a charming aesthetic that pairs beautifully with baby girl dresses or baby boy clothes.
Whether you’re an experienced knitter looking for a new project or a curious beginner ready to dive into the craft, creating a baby bonnet is surprisingly approachable. The project requires minimal materials, takes just a few hours, and delivers results that’ll have everyone asking where you got such an adorable accessory. Even better? You can customize it in countless ways—adjusting colors, adding ribbons, or experimenting with different stitch patterns to match your aesthetic.
This guide walks you through every step, from selecting yarn to tying the finishing knots. By the end, you’ll have a practical, precious keepsake that’ll protect a little one’s sensitive skin while looking absolutely precious.
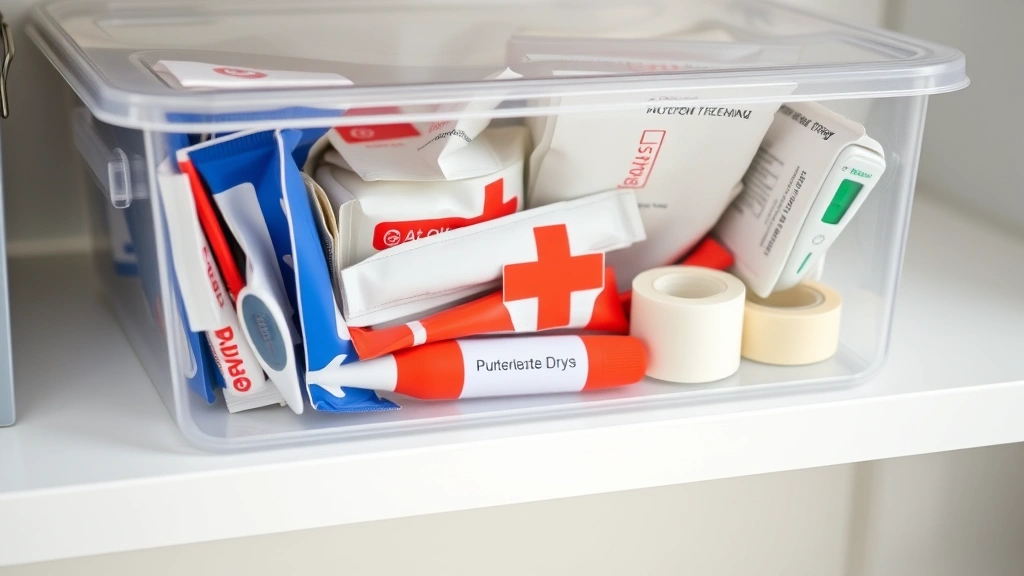
Materials You’ll Need
Before you cast on your first stitch, gather these essentials. You’ll want quality materials that make the knitting experience enjoyable and produce a finished product that’ll withstand wear and washing.
- Yarn: Approximately 100-150 yards of fingering or sport weight yarn (we’ll dive deeper into yarn selection below)
- Needles: Size appropriate to your yarn weight, typically US 2-4 (2.75-3.5mm) for baby bonnets
- Stitch markers: Small rings or loops to track your progress and mark pattern repeats
- Scissors: Sharp fabric scissors for clean yarn cuts
- Yarn needle: Also called a tapestry needle, for weaving in ends
- Measuring tape: To check your gauge and finished measurements
- Optional decorative elements: Ribbon, buttons, or embroidery floss for customization
Having everything organized before you start prevents frustrating interruptions mid-project. Set up a comfortable knitting space with good lighting—your eyes and hands will thank you.
Choosing the Right Yarn
The yarn you select makes or breaks a baby bonnet project. Since this accessory will touch a newborn’s delicate skin, prioritize softness, breathability, and washability.
Fiber content matters tremendously. Merino wool blends offer excellent temperature regulation and natural softness without the scratchiness of traditional wool. Alternatively, bamboo yarn provides silky smoothness and hypoallergenic properties. Cotton works beautifully for summer bonnets, though it lacks the elasticity of wool and may require more careful handling. Acrylic options exist for budget-conscious crafters, though they don’t breathe as well and can feel plasticky against sensitive skin.
Weight and yardage significantly impact your project timeline. Sport weight yarn (around 150 yards per 50 grams) creates a bonnet in just an evening or two, while fingering weight takes longer but produces finer detail. For first-time bonnet makers, sport weight offers the sweet spot between speed and manageability.
Test your yarn’s durability by checking care instructions. Look for superwash or machine-washable options—parents will appreciate not hand-washing delicate baby items. The color palette matters too; soft pastels coordinate well with most nurseries, though you could match specific baby blanket tones for a coordinated set.
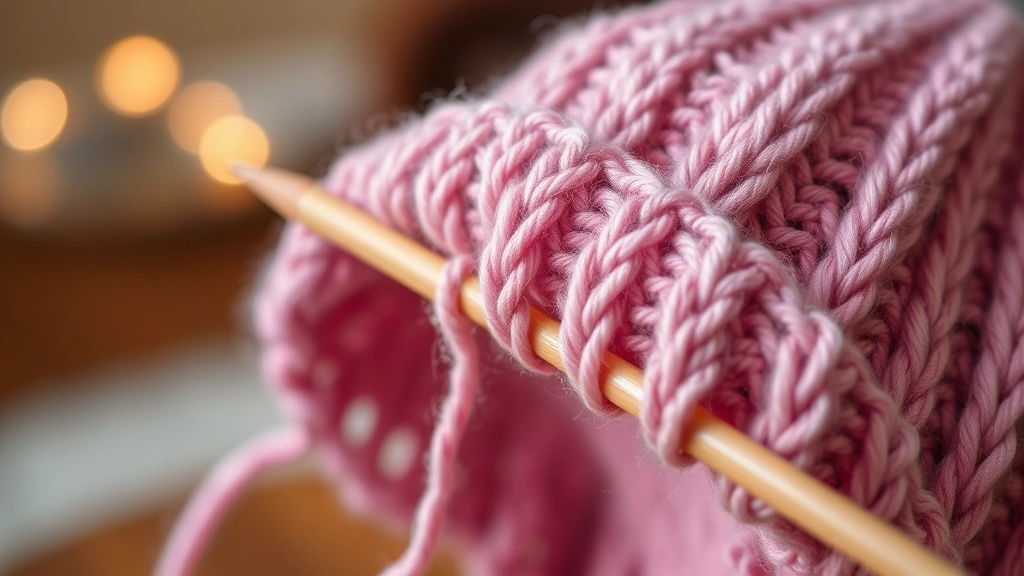
Essential Stitches to Master
Baby bonnets primarily use fundamental knitting techniques, making them accessible to beginners. You won’t need complicated cables or intricate colorwork.
Knit stitch (K): The foundational stitch where you insert your needle from left to right and pull yarn through. Most of your bonnet will use this basic movement.
Purl stitch (P): The reverse of knit, where you insert from right to left. Alternating knit and purl rows creates garter stitch, which provides stability and texture.
Ribbing: Alternating columns of knit and purl stitches (like K2P2) create stretchy fabric that fits snugly around the face without being restrictive.
Decrease stitches (K2tog, SSK): Essential for shaping the bonnet crown. Knit two together decreases by one stitch, while slip-slip-knit (SSK) creates a left-leaning decrease.
Yarn over (YO): Creating intentional holes in your fabric, perfect for threading ribbon ties through.
Practice these stitches on scrap yarn before starting your actual project. Muscle memory develops quickly, and you’ll find your rhythm within the first few rows.
Step-by-Step Knitting Instructions
Step 1: Cast On
Begin with 48-56 stitches using your preferred cast-on method. The long-tail cast-on provides a professional edge and works beautifully for baby items. Ensure your stitches sit evenly on the needle without twisting.
Step 2: Create the Brim
Work 6-8 rows in garter stitch (knit every row) or ribbing pattern (K2P2). This section frames the face and provides structure. The garter stitch creates a soft texture that won’t irritate sensitive skin, while ribbing offers more definition.
Step 3: Establish the Main Body
Switch to stockinette stitch (knit one row, purl one row) for the next 12-16 rows. This creates the classic smooth bonnet fabric. Maintain consistent tension throughout—not too tight, which causes hand cramping, nor too loose, which creates uneven stitches.
Step 4: Begin Crown Shaping
This is where your bonnet transforms from flat fabric into three-dimensional form. Decrease stitches strategically to create the crown’s rounded shape:
- Row 1: Knit across
- Row 2: Purl across
- Row 3: K2tog around (you’ll decrease by half)
- Row 4: Purl across
- Row 5: K2tog around again
Your stitch count will reduce from 48 to 24, then 12. This gradual shaping prevents puckering and maintains a smooth silhouette.
Step 5: Close the Crown
When you have approximately 8-12 stitches remaining, cut your yarn leaving a 6-inch tail. Thread it through your yarn needle and slip it through all remaining stitches. Draw tight to close the crown completely. This simple closure prevents the bonnet from unraveling.
Step 6: Add Ties (Optional but Recommended)
Using the same yarn or contrasting thread, work an I-cord or simple braided cord. Attach these ties to the sides of the bonnet so they can secure under baby’s chin. If you created yarn-over holes in your brim, thread the ties directly through for a seamless look.
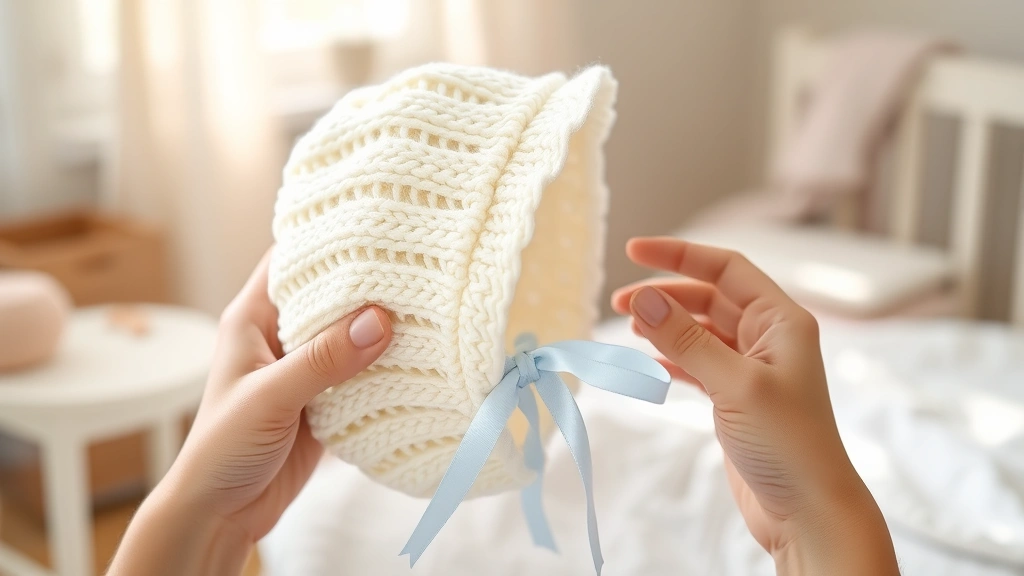
Adding Finishing Touches
The finishing details elevate your bonnet from simple to special. These touches require minimal additional time but create memorable results.
Weave in loose ends: Using your yarn needle, carefully weave yarn tails through nearby stitches on the inside of the bonnet. This prevents unraveling and creates a polished interior.
Block your bonnet: Wet blocking sets your stitches and creates a professional finish. Soak the bonnet in cool water with a bit of gentle wool wash, then gently squeeze out excess water (never wring). Pin it to a blocking board in the desired shape and let it dry completely. This step transforms slightly irregular stitches into uniform, beautiful fabric.
Add decorative elements: Consider sewing a small ribbon bow to the crown or embroidering tiny flowers on the brim. You might coordinate it with baby shower dresses you admire or create a matching set with personalized baby blankets.
Secure the ties: Ensure ribbon or cord ties are securely attached with several passes of thread. Babies won’t intentionally tug, but movement happens, and you want everything secure.
Sizing and Fit Considerations
A bonnet that doesn’t fit properly frustrates both baby and parent. Getting measurements right prevents rework and ensures your creation gets actual use.
Newborn sizing: Most newborns have head circumferences of 12-14 inches. Bonnets should fit snugly without restricting blood flow or causing discomfort. Your cast-on of 48-56 stitches typically yields appropriate newborn sizing.
Growth allowance: If you’re knitting for a baby not yet born, consider making the bonnet slightly generous. Babies grow quickly, and a bonnet that fits for several months provides better value than one outgrown in weeks.
Adjusting your pattern: If you need a larger bonnet, simply increase your cast-on by 8 stitches (maintaining your pattern repeat) and add extra rows before crown shaping. Decrease cast-on by 8 stitches for smaller bonnets.
Testing fit: Before completing your bonnet, try it on the intended baby or a similar-sized doll. Adjust ties so they rest comfortably under the chin without tension. The bonnet should stay in place when baby moves but not slip down over their eyes.
Common Mistakes and Fixes
Uneven tension creating loose stitches: This happens to everyone, especially beginners. Concentrate on consistent pressure when pulling yarn through each stitch. Don’t pull so tight that stitches bunch up, but maintain steady tension. With practice, this becomes automatic.
Dropped stitches: If you accidentally skip a stitch, pick it up immediately using a crochet hook. Insert the hook through the dropped stitch from front to back, catch the loose yarn strand, and pull through. You’ll prevent a run that unravels your entire project.
Holes from inconsistent yarn overs: If you didn’t intend decorative holes, you likely worked yarn overs accidentally. Review your row-by-row pattern and avoid bringing yarn to the front of your work unless specifically instructed.
Bonnet too tight or too loose: Tension issues usually stem from cast-on or bind-off. Use looser tension for these foundational rows. If the bonnet is too tight after completion, gentle blocking can stretch it slightly. If too loose, unfortunately, you’ll need to reknit those sections.
Unraveling ties: Secure all tie attachments with multiple passes of thread, tying off securely on the inside where baby won’t notice or grab.
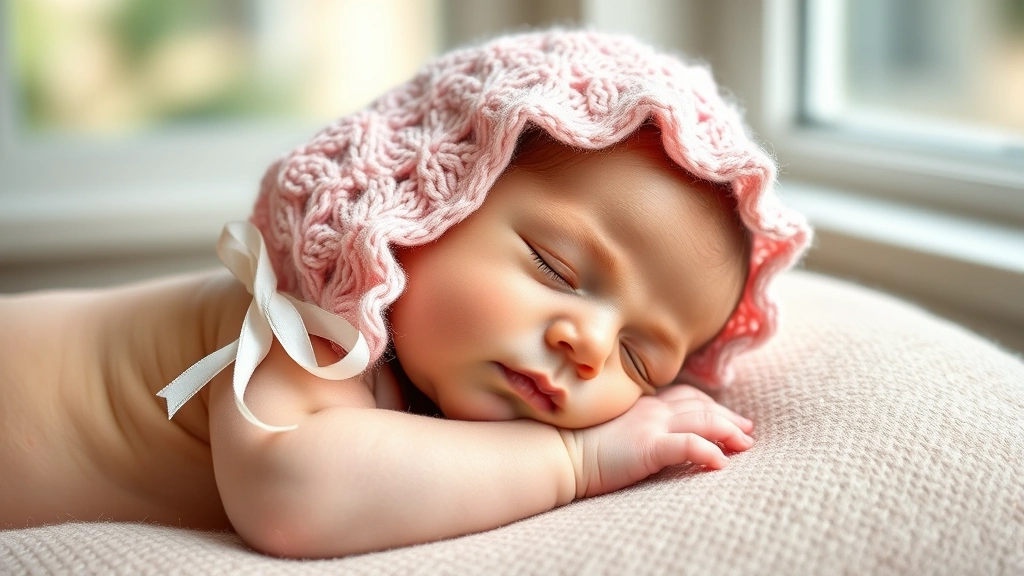
Styling Your Finished Bonnet
Once complete, your handmade bonnet becomes a versatile accessory that coordinates with countless outfits. Think beyond traditional bonnets—these charming creations work for photos, special occasions, and practical sun protection during outdoor time.
Pair your bonnet with coordinating pieces for cohesive styling. If you’ve created a soft pink bonnet, it complements delicate pastels perfectly. Match it with classic baby girl dresses in similar tones, or go bold with contrasting colors. For baby boy clothes, neutral-toned bonnets in cream, soft gray, or pale blue offer sophisticated versatility.
Create a coordinated gift set by pairing your bonnet with items like a matching baby blanket or receiving blanket. This thoughtful combination becomes an heirloom-quality gift that parents treasure.
Consider the season when styling. Summer bonnets in cotton protect from sun while keeping baby cool. Winter bonnets in merino wool blend warmth with breathability, preventing overheating under hats and coats. The bonnet’s versatility makes it practical year-round.
Frequently Asked Questions
How long does it take to knit a baby bonnet?
Most knitters complete a baby bonnet in 4-8 hours, depending on experience level and yarn weight. Beginners might need 8-10 hours, while experienced knitters often finish in an afternoon. Sport weight yarn works faster than fingering weight, so your yarn choice affects timeline significantly.
Can I knit a baby bonnet if I’m a complete beginner?
Absolutely! Baby bonnets are perfect beginner projects because they use only basic stitches—knit, purl, and simple decreases. If you can cast on, knit a row, and bind off, you can make a bonnet. Many knitters choose bonnets as their first project after learning fundamentals.
What yarn weight should I use?
Sport weight (around 150 yards per 50 grams) or DK weight works beautifully for bonnets. Fingering weight creates finer detail but requires more time. Bulky weight bonnets knit quickly but may feel too thick against baby’s face. Stick with sport or DK for the best balance.
Do I need special needles for baby bonnets?
No special needles required—use whatever needle size corresponds to your yarn weight. Most bonnets use US 2-4 needles (2.75-3.5mm). Bamboo or wooden needles offer better grip than metal, which many knitters prefer, but metal works fine too.
How do I wash a knitted baby bonnet?
Check your yarn’s care instructions—superwash or machine-washable options simplify cleaning. For delicate fibers, hand wash in cool water with gentle wool wash, squeeze out excess water gently, and lay flat to dry. Avoid wringing or twisting, which distorts shape.
Can I modify the pattern to make it larger?
Yes! Increase cast-on stitches by 8 (maintaining pattern repeats), add extra rows before crown shaping, and adjust tie length. Test sizing on a doll or baby before committing to ensure proper fit.
What if I make a mistake mid-project?
Small mistakes in baby items are often invisible and don’t affect function. If you catch errors immediately, you can unravel back to that point and reknit. For mistakes several rows back, consider frogging (unraveling) and starting over that section, or simply accept the imperfection—handmade charm includes character.
Should I block my bonnet after knitting?
Blocking isn’t mandatory but highly recommended. It sets your stitches, creates a professional finish, and can correct minor sizing issues. Wet blocking takes just 30 minutes of soaking plus drying time, and the results justify the effort.
Can I make bonnets in different colors or patterns?
Certainly! Once you master the basic bonnet, experiment with colorwork, stripes, or different stitch patterns. You might create a collection in various colors to match different outfits, or design themed bonnets for special occasions. The possibilities expand with your confidence.
Is it appropriate to give a handmade bonnet as a gift?
Absolutely—handmade gifts are treasured, especially for babies. A knitted bonnet demonstrates thoughtfulness and effort. Include care instructions so the recipient knows how to maintain it properly. Many parents keep handmade baby items as keepsakes.