Perfect Oven Baked Baby Back Ribs: Chef’s Secrets Revealed
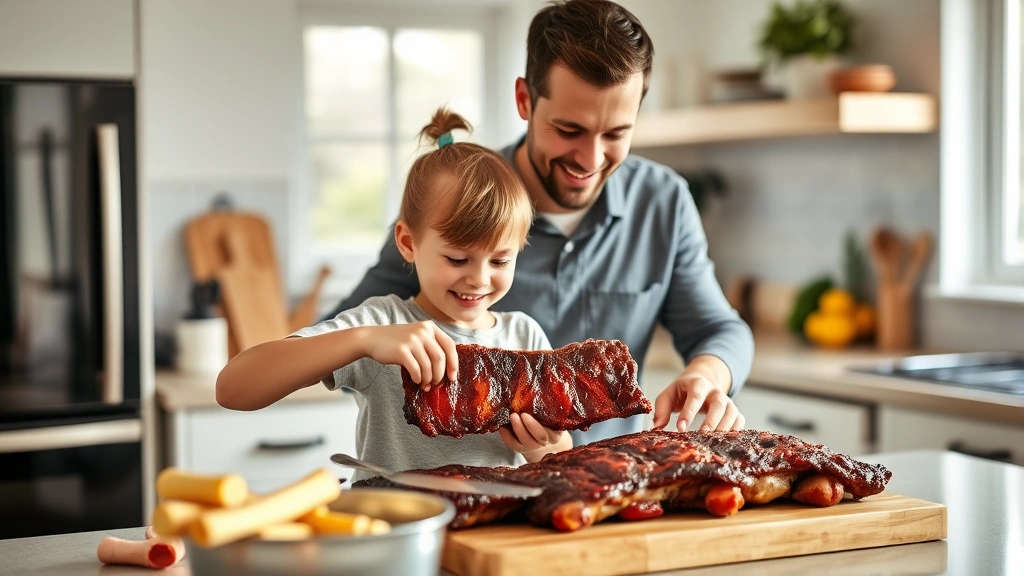
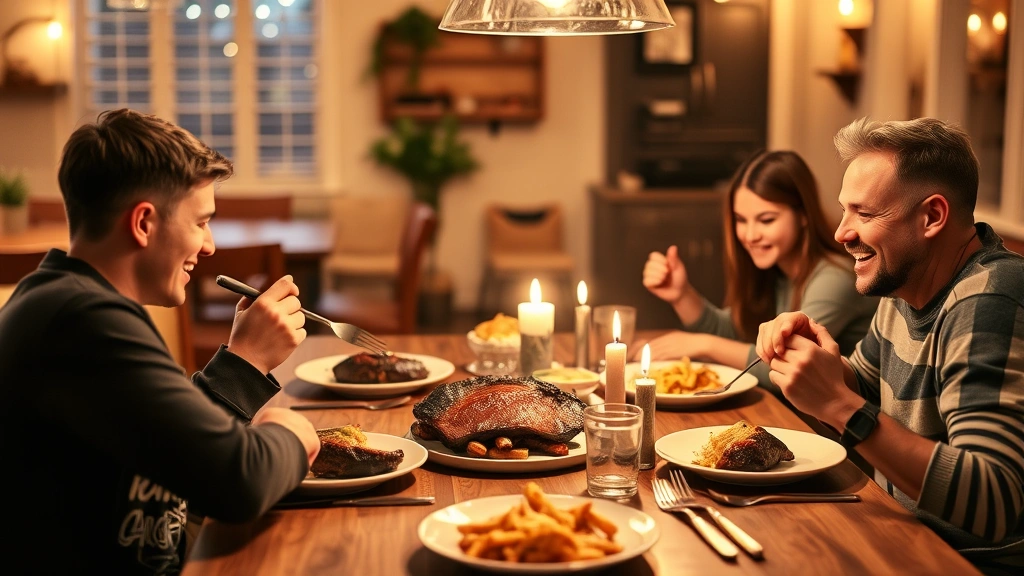
Family dinners are the heart of parenting—they’re where memories are made, conversations flow naturally, and everyone gathers around something delicious. If you’re looking to impress your family with restaurant-quality ribs that’ll have even your pickiest eaters asking for seconds, you’ve come to the right place. Oven baked baby back ribs are easier to master than you might think, and once you learn the chef’s secrets, you’ll be serving them confidently at every family gathering.
Whether you’re a busy parent juggling work and household responsibilities or someone who loves experimenting in the kitchen, this guide will walk you through every step of creating perfectly tender, flavorful oven baked baby back ribs. We’ll cover preparation techniques, cooking methods, seasoning strategies, and troubleshooting tips that professional chefs use to achieve that fall-off-the-bone texture everyone craves.
Selecting and Preparing Your Ribs
The foundation of excellent oven baked baby back ribs starts with choosing quality meat. Baby back ribs are smaller and more tender than spare ribs, making them ideal for home cooks. When shopping, look for ribs that have good color—a pinkish-red hue indicates freshness—and avoid any packages with excessive liquid or discoloration.
Once you bring your ribs home, the first critical step is removing the membrane on the back side. This thin, silvery layer prevents seasonings from penetrating the meat and creates a chewy texture. Simply slide a butter knife or your fingers under the membrane at one end and peel it away. This simple technique, often overlooked by home cooks, makes a dramatic difference in the final result.
Pat your ribs dry with paper towels before seasoning. Moisture on the surface can prevent proper browning and seasoning adhesion. Let them sit at room temperature for about 30 minutes before cooking—this ensures even heat distribution throughout the meat during the baking process. Just as you’d want to ensure your baby boy is comfortable and well-prepared for any situation, give your ribs the same attention to detail.
Mastering the Dry Rub and Seasoning
The dry rub is where magic happens. Professional chefs know that layering flavors creates depth and complexity that elevates simple ingredients into something extraordinary. The perfect dry rub combines sweet, savory, spicy, and smoky elements.
Classic Chef’s Dry Rub Recipe:
- 3 tablespoons brown sugar
- 2 tablespoons paprika (smoked paprika adds depth)
- 1 tablespoon garlic powder
- 1 tablespoon onion powder
- 1 tablespoon black pepper
- 2 teaspoons salt
- 1 teaspoon cayenne pepper (adjust to heat preference)
- 1 teaspoon dry mustard
- ½ teaspoon ground cumin
Mix these ingredients thoroughly in a small bowl. The brown sugar caramelizes during cooking, creating a flavorful crust, while the spices penetrate the meat. Apply the rub generously to both sides of the ribs, pressing gently so it adheres properly. Don’t be shy—this is your opportunity to build flavor.
For best results, apply your dry rub and let the ribs sit in the refrigerator for at least 2 hours, or preferably overnight. This allows the seasonings to penetrate the meat and develop deeper flavors. Think of this preparation time like parenting advice for new parents—the investment upfront pays dividends later.
The Low-and-Slow Oven Method
The secret to perfectly tender oven baked baby back ribs is low temperature and extended cooking time. Chefs understand that gentle heat breaks down collagen into gelatin, creating that coveted tender texture without drying out the meat.
The 3-2-1 Method (Modified for Oven):
This professional technique involves three cooking phases:
- Phase 1 (3 hours): Preheat your oven to 225°F. Place ribs bone-side down on a rimmed baking sheet lined with foil. This low temperature allows slow cooking without burning the rub. Cover tightly with foil to trap moisture.
- Phase 2 (2 hours): Remove foil, brush ribs with a light coating of apple juice or cider vinegar, and continue cooking uncovered. This adds moisture and helps develop the bark (the flavorful crust).
- Phase 3 (1 hour): Brush with your chosen glaze or sauce and return to oven. The final hour allows the glaze to caramelize and create a beautiful finish.
Total cooking time is approximately 6 hours, but the hands-on time is minimal. This makes oven baked baby back ribs perfect for busy parents who want impressive results without constant attention. As you manage your family’s best baby shower gifts and celebrations, you’ll appreciate a cooking method that doesn’t demand your constant presence.
The internal temperature should reach 190-203°F when tested with a meat thermometer inserted between the bones. At this temperature, the meat pulls away from the bones cleanly but doesn’t fall apart before serving.
Glazing and Finishing Techniques
Professional Glaze Recipe:
- 1 cup barbecue sauce (homemade or quality store-bought)
- ¼ cup honey
- 2 tablespoons apple cider vinegar
- 1 tablespoon Worcestershire sauce
- 1 teaspoon smoked paprika
- ½ teaspoon garlic powder
Whisk these ingredients together until smooth. During the final hour of cooking, brush the glaze onto your ribs every 15-20 minutes. This creates multiple layers of flavor and a glossy, caramelized exterior. The honey caramelizes beautifully under oven heat, creating depth that simple sauce alone cannot achieve.
For a healthier approach that still impresses, consider a mustard-based glaze using Dijon mustard, honey, and a touch of hot sauce. This provides tangy complexity without excessive sugar. Parents looking to balance family enjoyment with nutritional awareness will appreciate that quality ingredients shine through in the final dish.
Some professional chefs finish ribs with a light spray of apple juice in the final 15 minutes of cooking. This adds moisture and creates a beautiful sheen. The key is understanding that glazing is about building layers of flavor and texture, not drowning the meat in sauce.
Serving and Storage Tips
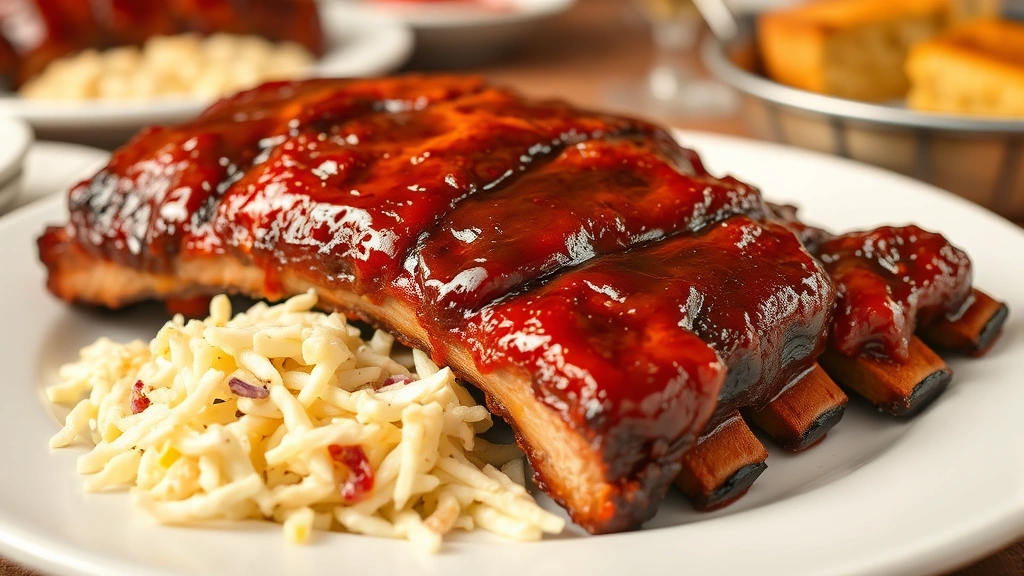
Once your ribs are perfectly cooked, let them rest for 5-10 minutes before serving. This allows juices to redistribute throughout the meat, ensuring maximum tenderness and flavor. Use a sharp knife to separate individual bones, or serve racks whole for a dramatic presentation that impresses dinner guests.
Pair your oven baked baby back ribs with sides that complement the smoky, sweet flavors: coleslaw with vinegar-based dressing, baked beans, cornbread, or roasted vegetables. These sides provide textural contrast and balance the richness of the ribs. Visit the Parent Path Daily Blog for complete family dinner ideas and complementary recipes.
Storage and Reheating:
- Refrigerate cooked ribs in airtight containers for up to 4 days
- Freeze for up to 3 months for extended storage
- Reheat gently in a 275°F oven, covered with foil, for 15-20 minutes
- Never microwave ribs, as this dries out the meat significantly
Leftover ribs make excellent additions to salads, grain bowls, or can be shredded and used in sandwiches. The versatility of properly cooked ribs means less food waste and more convenient meals throughout the week.
For parents managing newborn baby girl or baby boy schedules alongside meal planning, having versatile proteins like these ribs available makes weeknight cooking significantly easier.
Frequently Asked Questions
How do I know when my ribs are done cooking?
The bend test is a reliable indicator: pick up the rack with tongs in the middle. Properly cooked ribs should bend easily and nearly break apart. Alternatively, use a meat thermometer to verify internal temperature of 190-203°F. The meat should pull away from bones with minimal resistance.
Can I cook ribs at a higher temperature to save time?
While you can increase temperature to 275°F, cooking time will decrease to approximately 4-5 hours, and you risk a tougher, drier result. The low-and-slow method at 225°F produces superior texture and flavor. If time is limited, prepare ribs the day before and reheat gently before serving.
What’s the difference between baby back ribs and spare ribs?
Baby back ribs are smaller, more tender, and leaner, coming from the upper rib section. Spare ribs are larger and fattier, requiring longer cooking times. Both respond well to the low-and-slow oven method, but baby backs are ideal for home cooks seeking faster results.
Should I wrap my ribs in foil during cooking?
Yes, the first 3 hours benefit from foil wrapping, which traps moisture and speeds the tenderizing process. Uncovering during the final 3 hours allows the exterior to develop a flavorful bark and the glaze to caramelize properly.
Can I make this recipe without a dry rub?
While possible, the dry rub is essential to professional-quality results. It creates a flavorful crust and seasons the meat deeply. If you prefer less seasoning, use half the dry rub recipe, but don’t skip this step entirely.
What’s the best wood smoke to use if I want to add smoke flavor indoors?
The oven method doesn’t require actual smoke, but liquid smoke (¼-½ teaspoon) added to your glaze mimics that flavor. Some chefs prefer smoked paprika in the dry rub, which provides smoky depth without liquid additives. Experiment to find your preference.
External Resources:
- American Academy of Pediatrics – Family health and nutrition guidance
- Academy of Nutrition and Dietetics – Evidence-based nutrition information
- CDC Food Safety – Safe food handling practices
- North American Meat Institute – Meat selection and preparation
- Serious Eats – Food science and cooking techniques