How to Knit Baby Booties: Expert Guide
There’s something magical about creating handmade items for the littlest members of your family. Baby booties, in particular, occupy a special place in the parenting world—they’re practical enough to actually use, adorable enough to photograph endlessly, and personal enough to become cherished keepsakes. Whether you’re a seasoned knitter looking for a new project or a complete beginner wanting to try your hand at fiber arts, learning to knit baby booties is an achievable and deeply rewarding endeavor.
The beauty of handmade booties extends beyond the finished product. The meditative rhythm of knitting offers stressed parents a much-needed creative outlet, while the act of making something with your own hands for your child creates an emotional connection that store-bought items simply can’t replicate. Plus, you’ll have complete control over materials, ensuring your baby’s delicate skin gets only the softest, safest fibers.
This comprehensive guide walks you through everything you need to know—from selecting the right yarn and needles to mastering the techniques that will transform two sticks and some string into adorable foot coverings your baby will actually wear.
Getting Started: Essential Materials and Tools
Before you cast on your first stitch, let’s talk about what you’ll actually need. The good news? Baby booties require minimal supplies, making this an economical project even if you’re purchasing everything new.
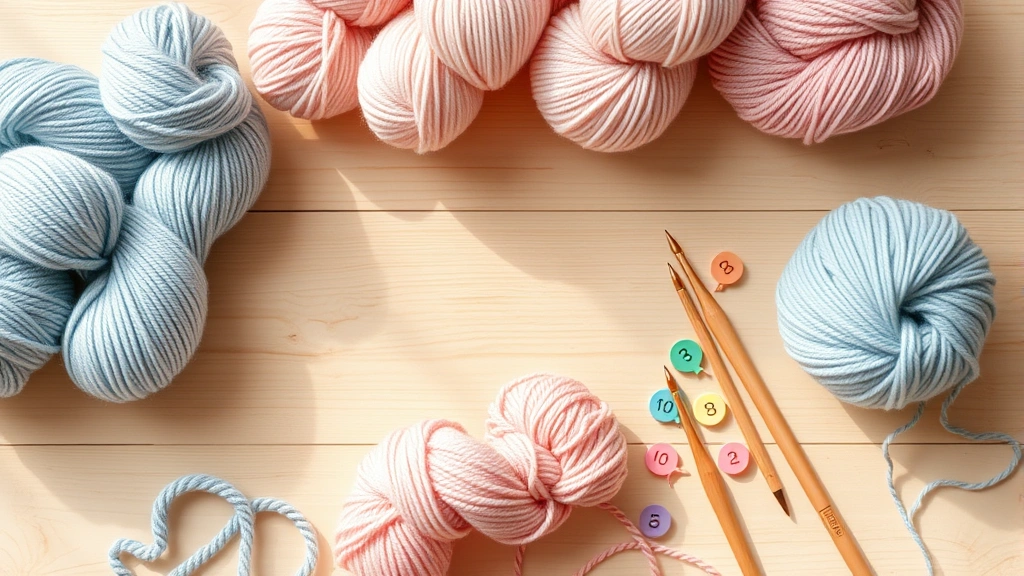
First, you’ll need yarn—typically 50 to 100 yards for a single bootie, depending on size. Quality matters here since these will touch your baby’s sensitive skin directly. Look for soft, breathable fibers that won’t irritate delicate feet. Merino wool, organic cotton, and bamboo blends are excellent choices. If you’re making booties as gifts for someone else’s baby, consider that allergies and sensitivities vary, so hypoallergenic options are always a safe bet.
You’ll also need a pair of appropriately sized needles. The needle size correlates directly with your yarn weight—a detail we’ll explore in depth in the next section. Additionally, gather a yarn needle (also called a tapestry needle) for weaving in ends, stitch markers to keep your place, and potentially a gauge ruler if you want to be precise about measurements.
Optional but helpful items include a row counter to track your progress, a notebook for jotting down modifications, and a small measuring tape for checking the bootie size as you work. Many experienced crafters keep a project bag with all these supplies together, making it easy to knit while supervising playtime or waiting at appointments.
Understanding Yarn Types and Weight
Yarn weight is measured on a standardized scale from 0 (lace) to 7 (jumbo). For baby booties, you’ll typically work with weights 1 through 4. Fingering weight (1) and sport weight (2) create delicate, detailed booties perfect for newborns. DK weight (3) offers a nice middle ground, working up quickly while remaining soft. Worsted weight (4) produces chunkier booties that work well for older babies or warmer climates.
The yarn label will specify the weight, yardage, fiber content, and recommended needle size. This information is your roadmap. The label also indicates care instructions—important since baby booties will need frequent washing. Machine-washable yarns designed for baby items are fantastic for practicality; however, if you choose a delicate fiber, hand-washing is a small price for superior softness.
Consider fiber blends carefully. Pure merino wool offers exceptional temperature regulation, keeping baby feet warm without overheating. Organic cotton works beautifully for summer booties. Acrylic yarns are budget-friendly and durable, though they don’t breathe as well. Many parents appreciate bamboo blends for their silky feel and natural antibacterial properties.
When selecting colors, remember that babies benefit from visual stimulation. Soft pastels soothe, while gentle contrast between the bootie and cuff can engage developing eyes. That said, neutral tones photograph beautifully and coordinate with more outfits.
Choosing the Right Needles
Needle selection impacts both your comfort and your final product. The yarn label recommends a needle size range—say, US 4-6. This range exists because different knitters have different tension. If you knit tightly, you might use the larger size; if you knit loosely, the smaller size.
For baby booties, many knitters prefer circular needles, even though booties are small. Circular needles distribute weight evenly, reducing hand fatigue during longer sessions. Alternatively, double-pointed needles (DPNs) or magic loop method work perfectly for small circumference projects like booties.
Material matters too. Bamboo needles provide slight grip, preventing stitches from sliding off accidentally—ideal for beginners. Metal needles allow faster knitting and create a satisfying clicking sound many crafters love. Plastic needles are economical but can feel less pleasant. Most experienced knitters develop a preference; start with whatever feels comfortable in your hands.
Needle size directly affects your gauge—the number of stitches per inch. Achieving the correct gauge ensures your booties fit properly. A bootie knit too loosely will stretch out; one knit too tightly becomes stiff and uncomfortable.
Basic Knitting Techniques You’ll Need
If you’re new to knitting, mastering a few fundamental techniques opens the door to bootie-making success. You don’t need to be an expert; these skills are learnable and improve with practice.
Casting on creates the foundation row of stitches. The long-tail cast-on is popular for booties because it creates a neat edge. YouTube tutorials demonstrate this beautifully—watching someone’s hands move through the motion clarifies what written instructions sometimes can’t convey.
The knit stitch is the basic building block. Yarn goes over the needle, through the loop, and creates a new stitch. The purl stitch is essentially the reverse. Many bootie patterns use ribbing—alternating knit and purl stitches—which creates stretch and flexibility perfect for baby feet.
Increasing and decreasing stitches shape the bootie. Increases make sections wider; decreases taper them. A simple increase involves knitting into the same stitch twice. Decreases typically use techniques like knit-two-together or slip-stitch-knit.
Binding off secures your final row so stitches don’t unravel. The standard bind-off involves passing one stitch over another in a chain-like pattern. This creates a finished edge.
These techniques are the vocabulary of knitting. Once you understand them, following patterns becomes logical rather than mysterious. Many beginners feel intimidated by patterns initially, but they’re simply instructions using standard abbreviations—K for knit, P for purl, Inc for increase, Dec for decrease.
Step-by-Step Pattern Guide
Now let’s knit actual booties. This beginner-friendly pattern creates a bootie suitable for newborns through three-month-old babies, though you can adjust sizing by using thicker or thinner yarn.
Materials needed: 50 yards of sport weight yarn, US 4 circular needles (or DPNs), yarn needle, stitch markers, and scissors.
Finished size: Approximately 3.5 inches long (newborn to 3 months).
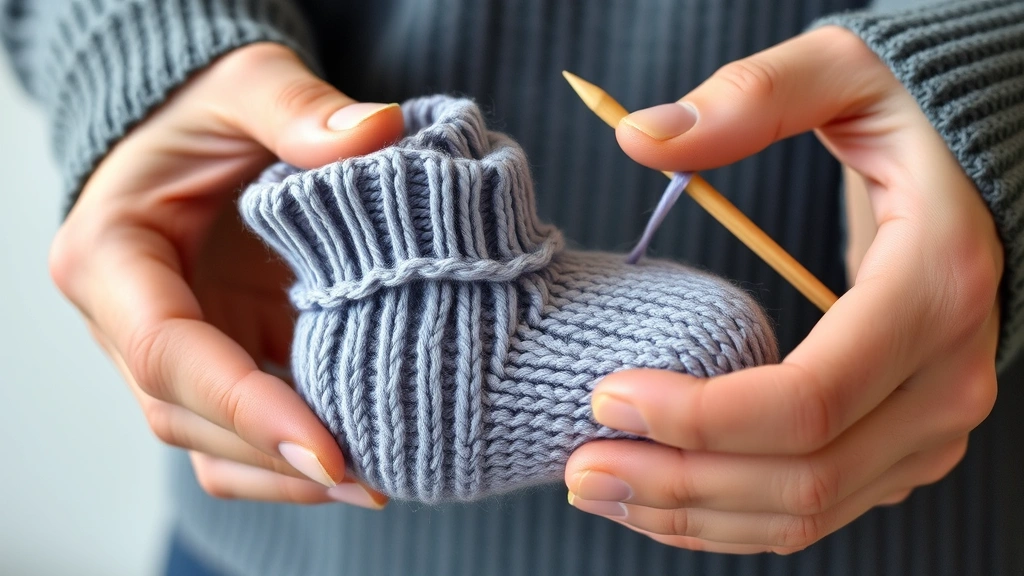
The cuff: Cast on 32 stitches using the long-tail method. Join to work in the round, being careful not to twist stitches. Work in 1×1 ribbing (alternating knit and purl stitches) for 1.5 inches. This ribbing creates the stretchy cuff that holds the bootie on baby’s foot.
The foot: Knit every stitch for 1.5 inches in stockinette stitch (all knit stitches in the round). This creates the smooth fabric that forms the bootie’s main body. The smooth texture feels wonderful against baby skin.
The toe shaping: This is where the bootie takes its distinctive shape. Decrease 4 stitches evenly spaced around the round. Knit one round. Repeat this decrease-and-knit pattern until 8 stitches remain. Cut yarn, thread through remaining stitches, and pull tight to close the toe.
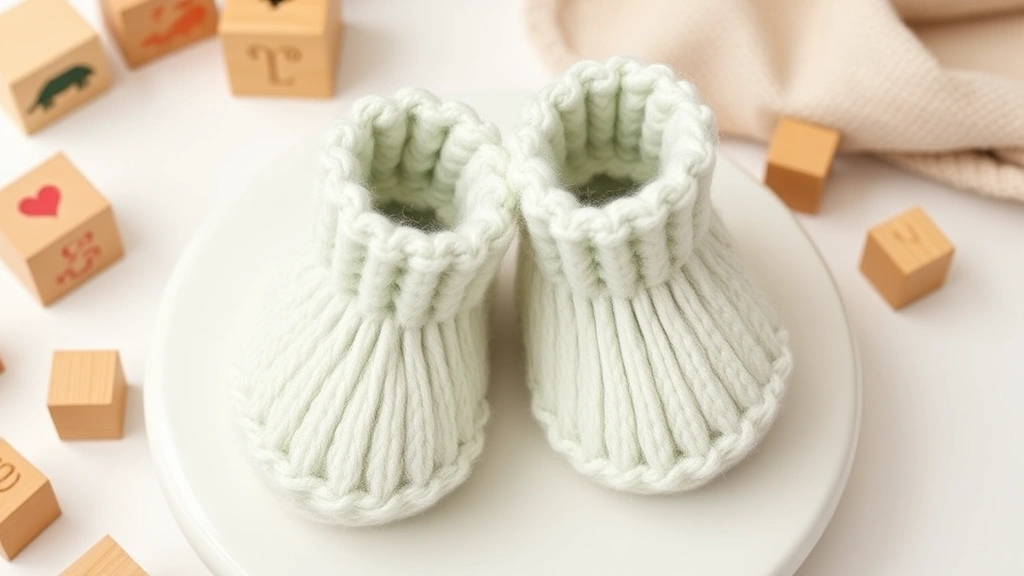
Finishing: Weave in all ends with your yarn needle. Gently block the bootie (wet it slightly, shape it over your hand, and let it dry) to even out the stitches and soften the fabric. This step transforms a somewhat lumpy handmade item into a polished-looking bootie.
The first bootie always feels challenging. Your hands are learning the rhythm, your tension might be inconsistent, and you might make mistakes. This is completely normal. By the second bootie, muscle memory kicks in and the process becomes meditative and enjoyable.
Finishing and Customization
Once you’ve mastered the basic bootie, customization options become exciting. You might add a cuff in a contrasting color, creating visual interest that coordinates with baby boy clothes or baby girl clothes in your nursery.
Consider embellishments thoughtfully. Small buttons, ribbons, or appliqués can add charm, but ensure everything is securely attached and free of choking hazards. Many parents prefer simple booties for safety, reserving decorative elements for special occasion pairs.
Sole reinforcement is practical if you’re making booties for older babies who might walk in them. A crocheted sole or felted bottom provides grip and durability. Some knitters add a thin leather patch using fabric glue, though this requires careful application to ensure nothing comes loose.
Creating matching pairs requires attention to detail. Knit both booties identically, noting your stitch count and row counts. If one bootie is noticeably larger, you can adjust tension slightly on the second one. Many experienced knitters knit both booties simultaneously on the same circular needle, ensuring perfect matching.
If you’re gifting booties, consider pairing them with a handwritten care card explaining the fiber content and washing instructions. This adds a personal touch and ensures the recipient knows how to care for your handiwork.
For babies who’ll wear these regularly, think about practicality. Booties that slip easily onto tiny feet beat those requiring wrestling matches. Consider making baby walking shoes with grippier soles once your child is mobile, or explore options like baby Uggs for inspiration on construction techniques.
Troubleshooting Common Issues
Stitches falling off needles: This happens to everyone. Switch to bamboo needles for better grip, or use needle stoppers (small rubber caps that prevent stitches from sliding off). When stitches do escape, use your yarn needle to pick them back up and secure them on the needle.
Uneven tension: Your stitches look lumpy or inconsistent? This improves dramatically with practice. Focus on keeping tension consistent between your fingers. Some knitters wrap yarn differently on knit versus purl stitches; maintaining the same wrapping pattern helps.
Holes appearing in the fabric: These usually result from accidentally creating yarn-overs (wrapping yarn around the needle without an accompanying stitch decrease). Check your pattern carefully and ensure you’re only wrapping yarn intentionally when the pattern calls for it.
Bootie too tight or too loose: This relates to gauge. Check your gauge by knitting a small swatch, measuring your stitches per inch, and comparing to the pattern. Adjust needle size accordingly for future booties—larger needles create looser fabric, smaller needles create tighter fabric.
Difficulty joining in the round: When you cast on and join to work circularly, ensure the cast-on row isn’t twisted. If it is, your bootie will have a permanent twist. If you notice this, it’s often easier to start over than to fix it mid-project.
Yarn tangling: Keep your yarn in a bowl or yarn bowl to prevent it from rolling around and tangling. If working from a skein, wind it into a ball first. Tangled yarn frustrates even experienced knitters.
Weaving in ends neatly: Thread your yarn needle and weave the end through several stitches along a seam where it won’t show. Weave in one direction, then back in another, creating security. Trim close to the fabric. This prevents ends from working loose after washing.
Frequently Asked Questions
How long does it take to knit a pair of baby booties?
For beginners, expect 3-5 hours per bootie. As you become more comfortable, this decreases to 1-2 hours. Experienced knitters often finish a pair in an evening. The time varies based on yarn weight, pattern complexity, and your personal knitting speed.
What’s the best yarn for baby booties?
Merino wool, organic cotton, and bamboo blends are excellent choices. Look for soft, breathable fibers that won’t irritate sensitive skin. Ensure the yarn is machine-washable if possible, since baby items require frequent laundering. Check the label for care instructions and fiber content.
Can I knit baby booties without circular needles?
Absolutely. Double-pointed needles work perfectly for small circumference projects. Some knitters prefer them for booties specifically. The magic loop method (using one circular needle) also works well. Choose whatever needle type feels comfortable in your hands.
What if I’ve never knitted before?
Baby booties are suitable for beginners, though starting with a basic scarf helps you learn fundamental techniques first. Watch video tutorials for casting on, the knit stitch, and binding off. Practice these three techniques before attempting a bootie. Many YouTube creators offer excellent free instruction.
How do I determine what size bootie to make?
Newborn booties typically measure 3 to 4 inches long. Use thicker yarn for larger booties. Most patterns specify the finished size. If making for an existing baby, measure their foot length and add about half an inch for comfort. If making for a gift without knowing the baby’s age, newborn size is a safe choice.
Can I customize bootie patterns?
Yes. Once you understand the basics, you can modify colors, add stripes, or change the cuff style. However, modifications may affect the fit, so keep notes about what you changed. If a modification doesn’t work well on the first bootie, adjust for the second one.
Should I block baby booties?
Blocking (wetting and shaping while drying) transforms handmade booties, evening out stitches and softening fabric. For baby booties, gentle blocking is worth the effort. Wet them slightly, shape over your hand or a bootie form, and let air dry. This step elevates the finished appearance significantly.
How do I prevent baby booties from getting lost?
This is a genuine concern—baby booties vanish mysteriously. Consider making booties that match clothing, so losing one is less noticeable. Some parents attach a small ribbon loop to booties for securing them together. Others embrace the inevitable loss and make extras.
What patterns are best for beginners?
Look for patterns labeled “beginner” or “easy.” These use basic stitches like knit and purl, simple shaping, and straightforward instructions. Avoid patterns requiring colorwork (multiple colors in the same row) or advanced techniques initially. Ravelry filters patterns by difficulty level, making it easy to find beginner-friendly options.
Can I use baby boy shoes patterns to guide bootie design?
Store-bought baby shoes can inspire bootie designs. Examine the construction, sole type, and overall fit. However, knitted booties function differently than rigid shoes. Use store-bought options as inspiration rather than exact templates. Consider what makes commercial booties comfortable and attempt to incorporate those features into your knitted version.